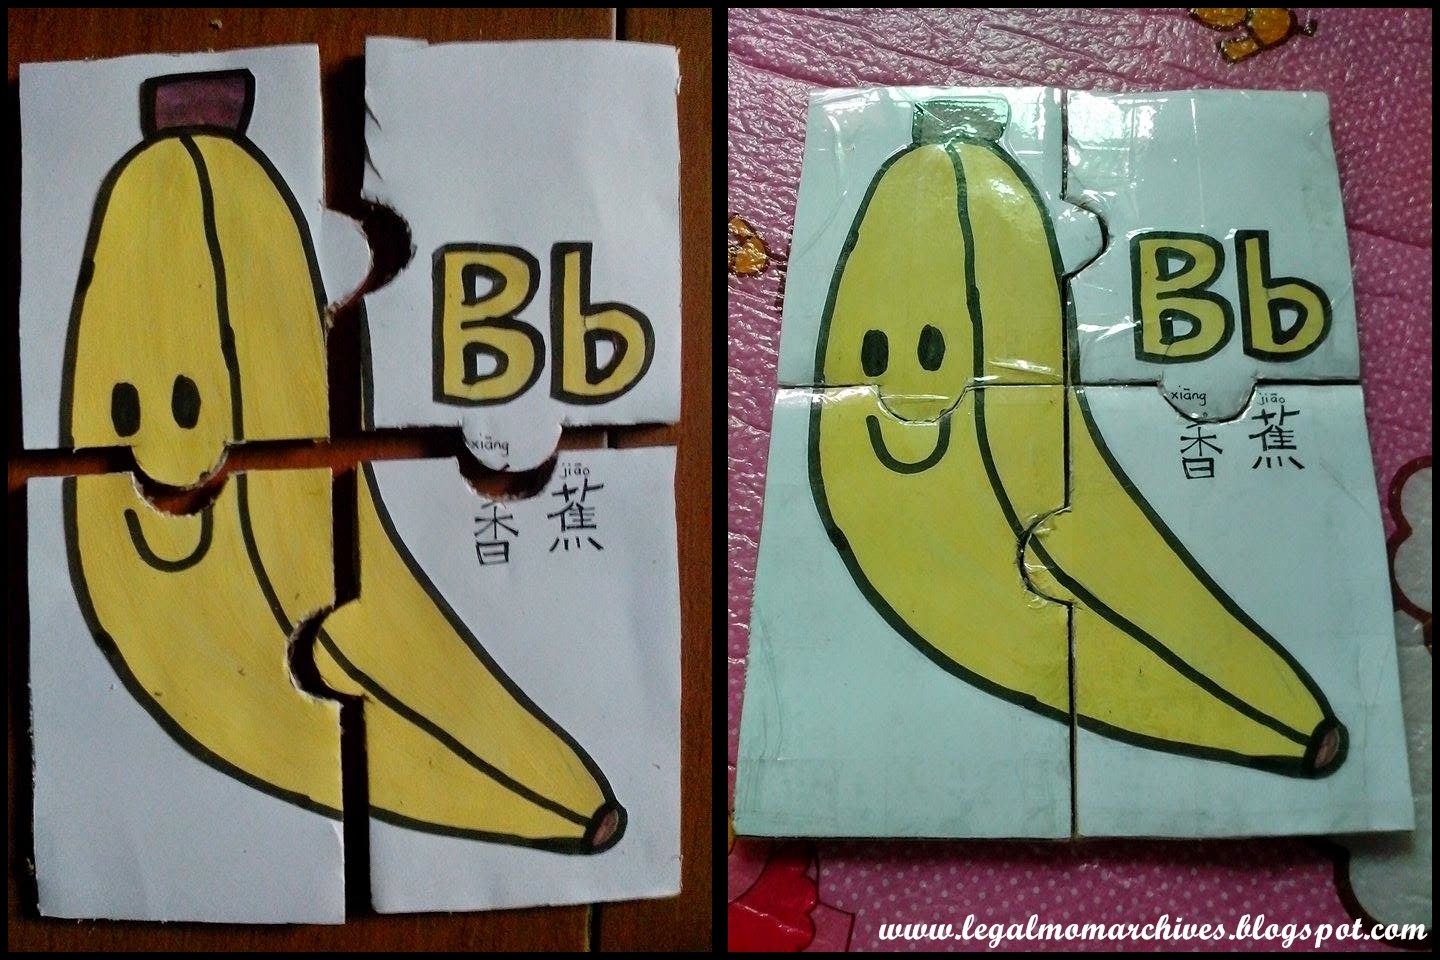
Yesterday, Baby C wanted to paint so I drew an apple and a banana in a cardboard for her to color. While writing letter "A" for apple, Baby C shouted "AH", and after I wrote the letter "B" on the banana, she said "BA"! Wow! That was a confirmation that she really knows those letters already.
I gave Baby C the materials and she immediately went to work. I bought our non-toxic and washable tempera paints and brushes from Ma'am and Moms.
 |
| In deep concentration. Shhhh.. |
After she finished coloring the pictures, I asked myself what to do with them aside from keeping them in an envelope for her to see in the future. Then I had an "Ah-ha!" moment. I'll make them a floor puzzle!
Here's what you will need to make a DIY Floor Puzzle for your child:
1. Your child's artwork (or you can just look for a picture in the internet and print it or cut a picture from a magazine.)
2. Corrugated Carton Box or simply "karton"
3. Scissors and cutter
4. Pencil, ruler and eraser
4. Glue
5. Ten Peso Coin
5. Clear packaging tape (optional)
Here's how:
1. Retouch your child's artwork.
 |
| Daddy wrote the Chinese Characters! |
2. For a 4-piece puzzle, use your ruler and pencil and divide the picture into four equal parts.
3. Place your 10 Peso coin in the middle of the line to get a perfect semi-circle.
4. Paste the picture in the corrugated carton box then cut them together.
5. To have a laminated effect, cover the puzzle pieces with a clear packaging tape.
6. If you want a "housing" for your floor puzzle, before cutting the board into pieces, use a cutter and ruler to cut the edge of the board (about 1/2"). Then paste the edge in another corrugated board, cover the board with a bond paper.
I made this floor puzzle reversible to save time and materials. So I have a 2-in-1 floor puzzle!
 |
| Reversible Floor Puzzle |
If you like this blogpost, show some love by liking Legal Mom Archives on Facebook.
Have Fun!
Mommy Edel


:
Post a Comment
If you have any questions, please leave a comment and I'll gladly answer them. =)